One of my favorite projects in kindergarten is the Bird Flight Project we had begun and were expecting to display at the Flight museum scheduled for April 16th. I have had a few people ask and if you want to continue this project at home, I will do my best to lay out what we would have done and how you can do it at home if you so choose. The project in a nutshell is to research and report on a bird of your choice and create a model to display the life-size proportions of your bird. There are two options for your model. You can do a scaled to size 2D representation using sidewalk chalk or a 3D model of your bird using recycled materials and decorating to look like your bird.
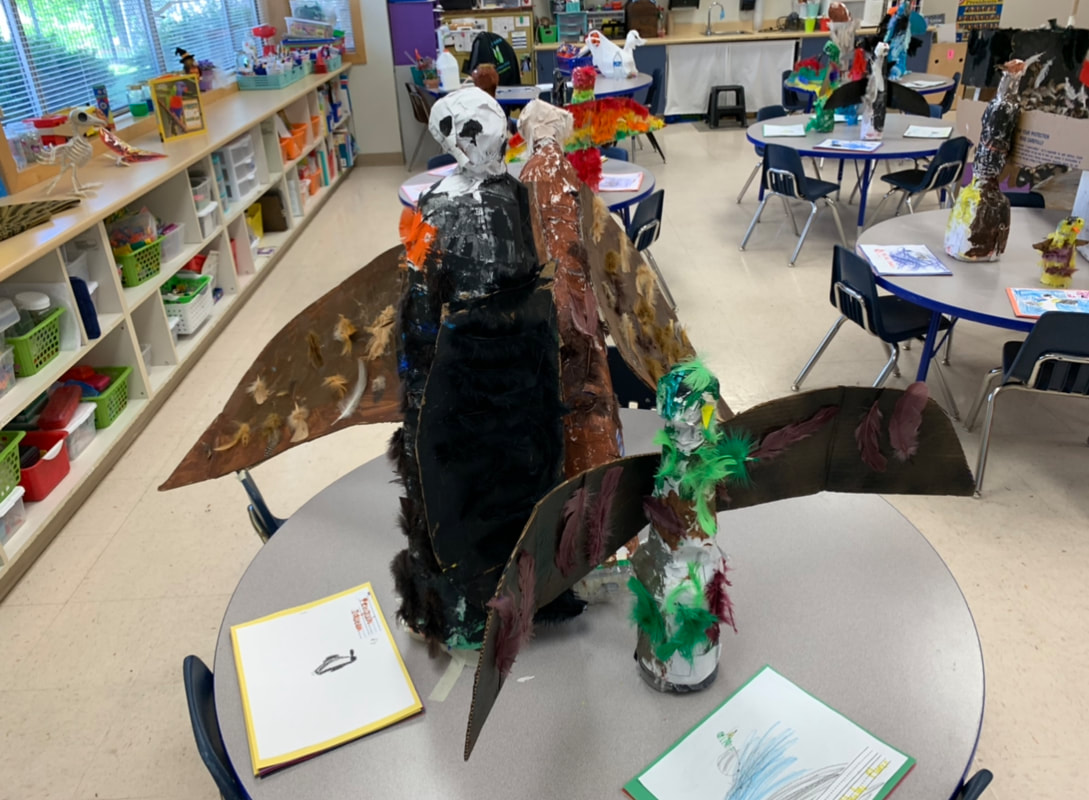
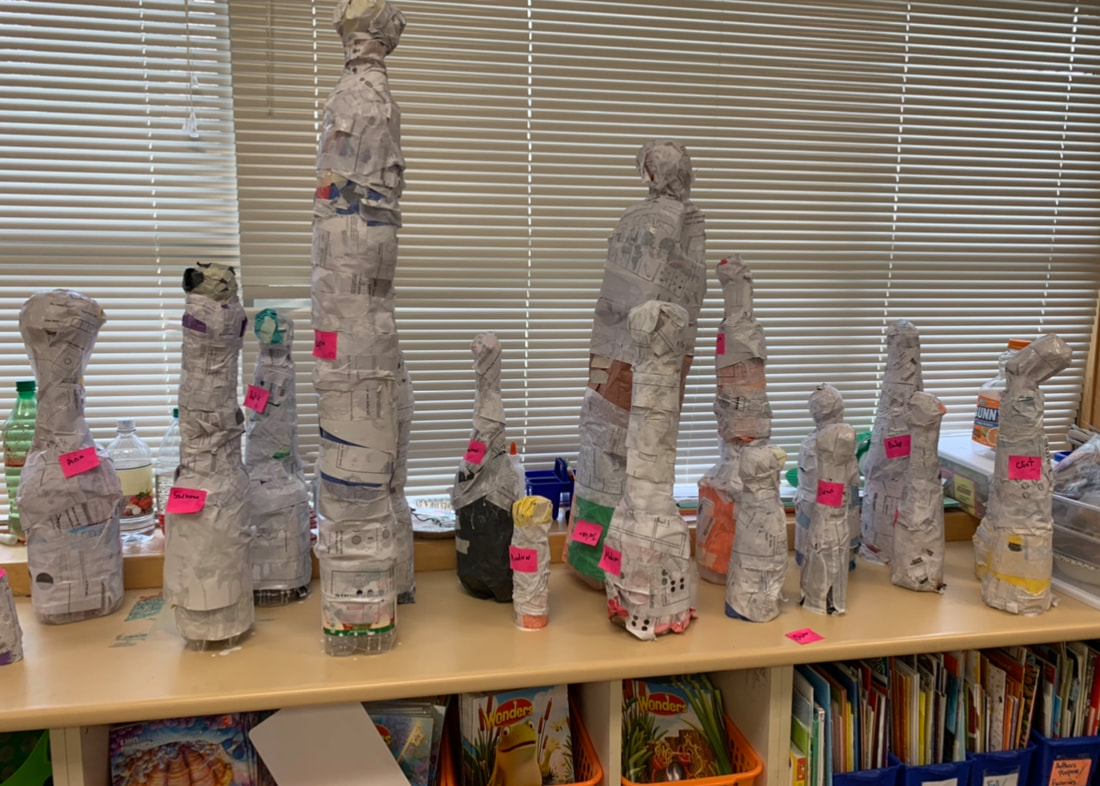
*The 3D model is what we would have done in class and it has lots of steps so if you opt for this, there are tips outlined and organized each day. The pacing is just a guide. You can do several steps in one day if you like or take your time. See the slide show below for an example of a finished product.
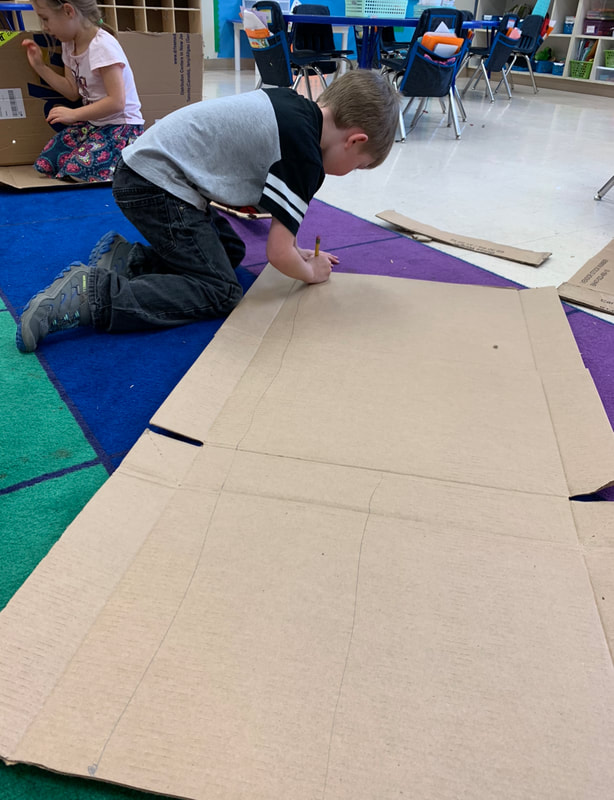
Good objects to pick from include: water, soda, and juice bottles of all sizes, paper towel rolls, news paper, large boxes, cardboard, poster board, anything laying around. I will include pictures as a guide.
*The 3D model is what we would have done in class and it has lots of steps so if you opt for this, there are tips outlined and organized each day. The pacing is just a guide. You can do several steps in one day if you like or take your time. See the slide show below for an example of a finished product.
Good objects to pick from include: water, soda, and juice bottles of all sizes, paper towel rolls, news paper, large boxes, cardboard, poster board, anything laying around. I will include pictures as a guide.
First some background:
Before we left, we began our project by learning about the forces of flight: thrust, drag, weight, and lift.
Feel free to watch the video above to recap.
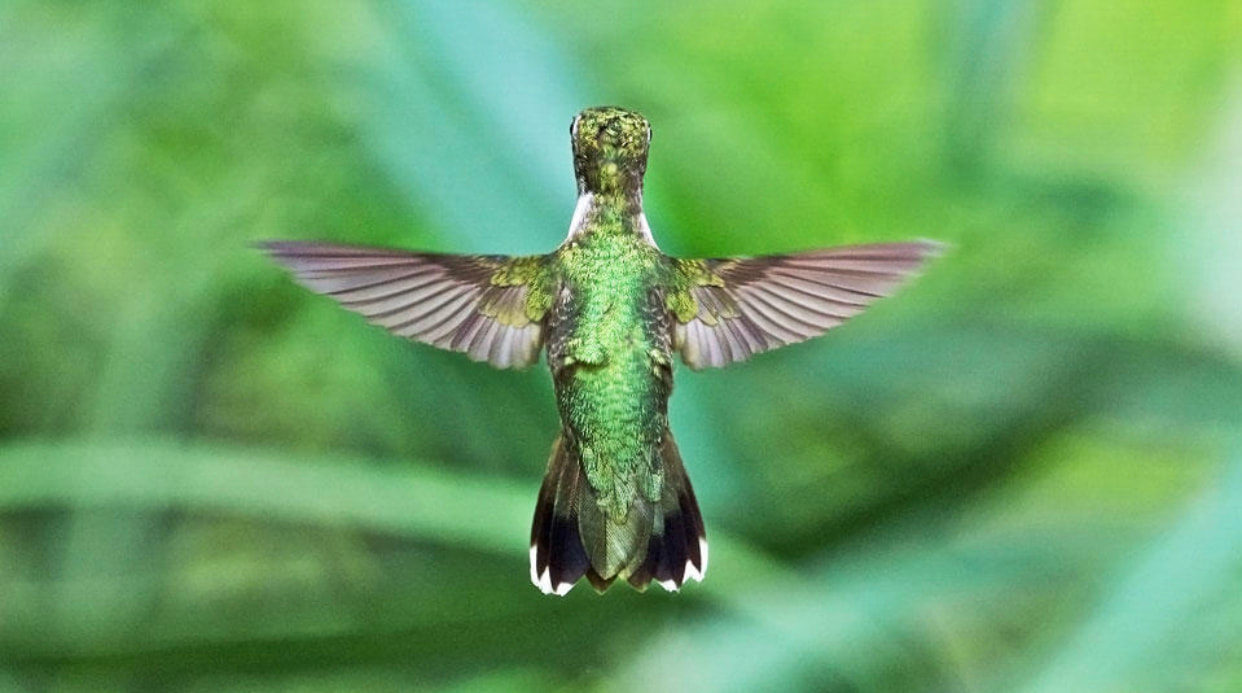
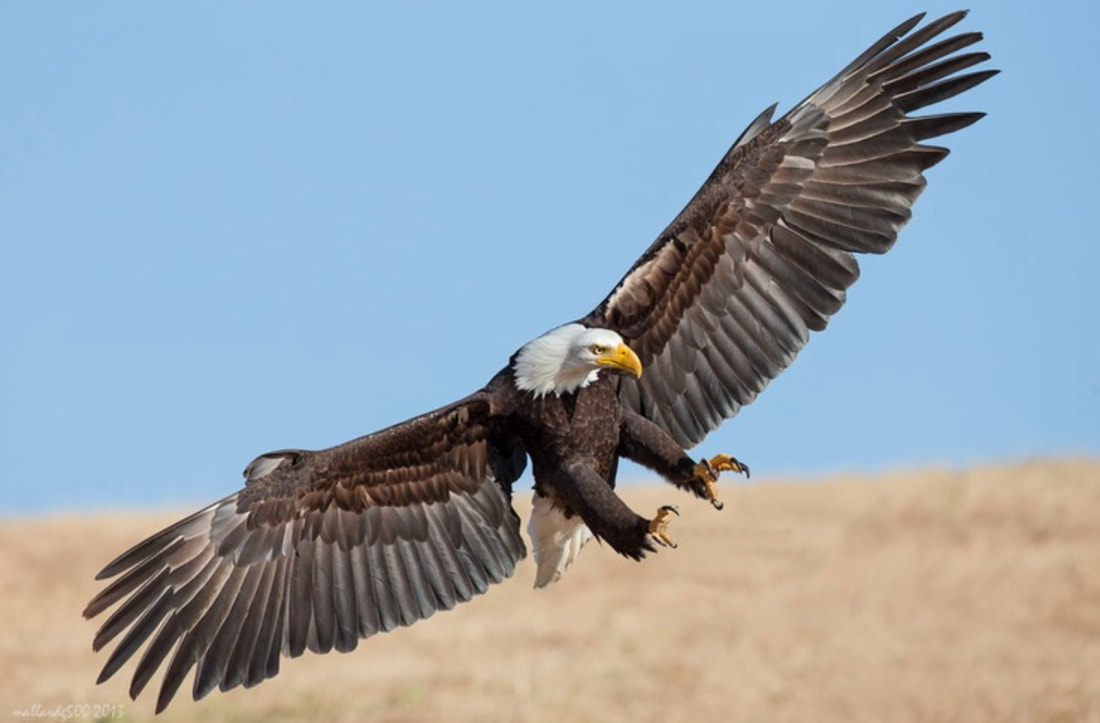
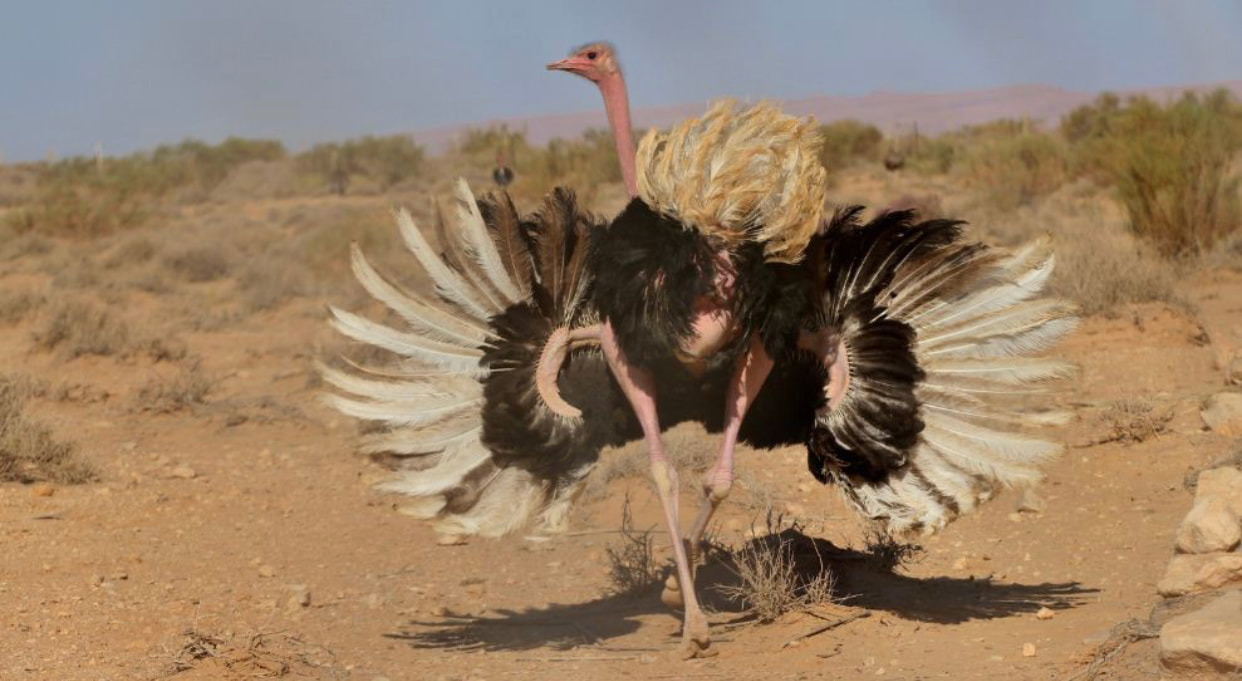
Your child should be able to explain how these forces work together to allow a bird to fly. Additionally, we discussed how the size of a bird, in comparison to it’s wingspan determines if/how a bird can fly. Look at each bird and discuss how much energy you think each bird will need to use, I’ll wait... Look at the body and wingspan of a hummingbird, it becomes clear why it needs to flap its wings very fast. Take a look at the eagle’s wingspan on the other hand. When you compare that it’s wings are more than double its body length, the large wings are capable of pushing on more air molecules to keep it lifted for longer. Now look at the ostrich. What do you notice about its size and body compared to its wings? Do you think this bird can fly? Why or why not?
Before we left, we began our project by learning about the forces of flight: thrust, drag, weight, and lift.
Feel free to watch the video above to recap.
Your child should be able to explain how these forces work together to allow a bird to fly. Additionally, we discussed how the size of a bird, in comparison to it’s wingspan determines if/how a bird can fly. Look at each bird and discuss how much energy you think each bird will need to use, I’ll wait... Look at the body and wingspan of a hummingbird, it becomes clear why it needs to flap its wings very fast. Take a look at the eagle’s wingspan on the other hand. When you compare that it’s wings are more than double its body length, the large wings are capable of pushing on more air molecules to keep it lifted for longer. Now look at the ostrich. What do you notice about its size and body compared to its wings? Do you think this bird can fly? Why or why not?
|
|
|
Research: Use the link below and pick a bird to study or pick your own as long as you have help researching. Read and watch videos to learn as much as possible about your bird. Use the attached organizer PDF below the button to help you gather data and create a book. Below that is a step by step guide to your recycled build should you choose.
|
Here you will find the organizers to help gather your data.
| |||
|
Day 1
Research and pick your bird. Look up pictures of birds and brouse a bit to find what interests you or what you think is reasonable to make a model of. Note, a big bird, is a BIG project. Smaller birds are often more manageable. Today’s outcome is to pick your bird and record the length, and wingspan. Use a hundred chart (one in your homework) to notice the numbers. Discuss and compare the numbers. What is greater, the average length or wingspan? For example, a bird 10-14 inches in length with a wingspan of 20-30 has a greater wingspan than it’s length. What might that tell you about how/if it can fly? Today, plan out the rest of what you will need for your project including materials. Consider reading through the sample week to determine what you need or a pace that works for you. Gather as many recyclable materials for a variety of things to measure if you are building a 3D model. |
|
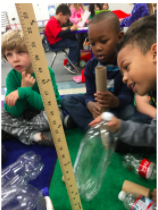
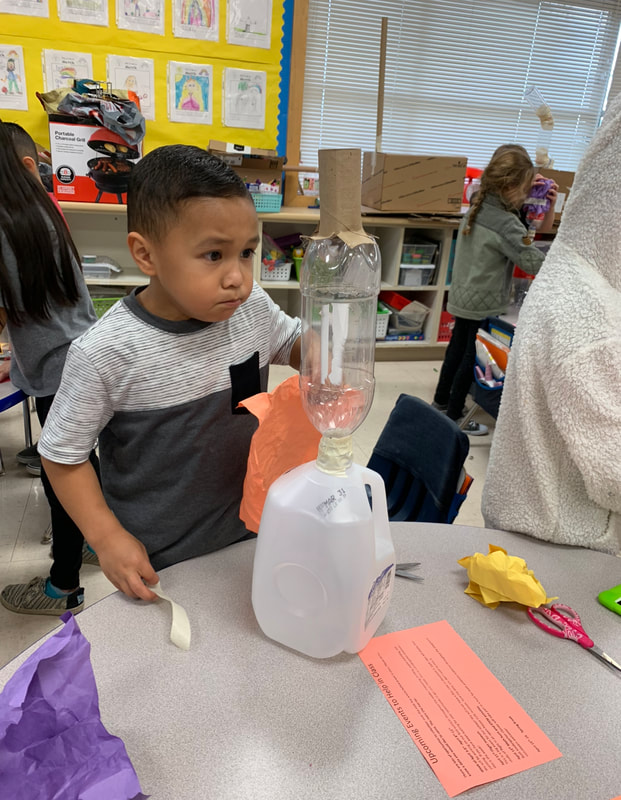
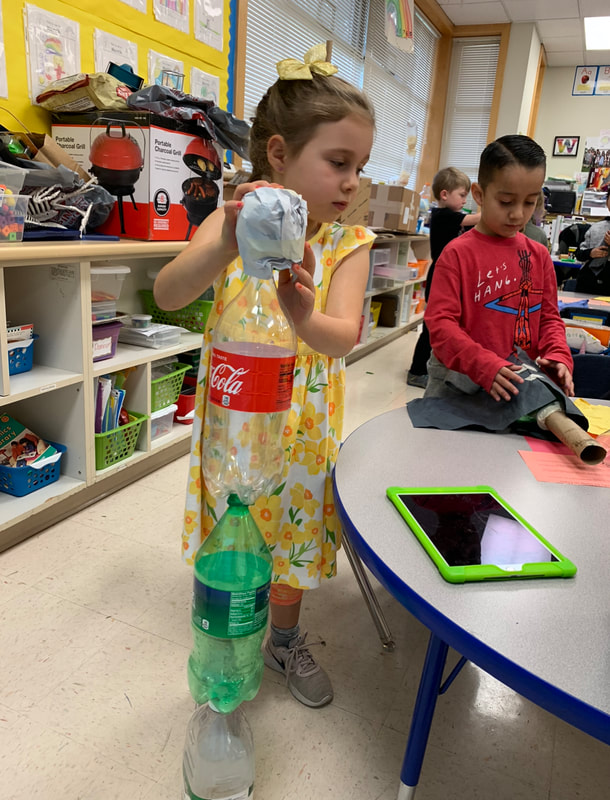
Day 2
Continue your research of your bird and begin your organizer of facts about your bird. Use your length and wingspan measurements to decide the size of your model. Use measuring tape to see the size and scale.*3D model: use measuring tape to measure recyclables until they fit within the range. If your bird is 10-14 inches, and you have two small water bottles or cans that measure 6 inches, taping them together will get you 12. Is 12 greater or less than the maximum 14 inches? If you have two 8 inch bottles and you taped them together, how much would you have to cut off to make it fit? Measure it. Play with a few options to make the size you think is best. If you need to cut a water bottle, you can slip one inside like a sleeve or even tape a paper towel roll as a neck and cut off extra after you measure it. Make a head by crumpling up newspaper and fastening it to the rest of the body. Don't worry if the skeleton of your bird starts off strangely shaped, you will add more layers.
Don't worry if the shape starts off lumpy, you will add more layers.
|
|
Day 3
Find the double fact that gets you your wingspan. For example, for an average wingspan of 20-30, pick an even number in the range. If you pick 24, then 12 and 12 is 24 so each wing is 12 inches long. Cut out and use the tens and ones page if you are up for it or take a deck of cards and start by counting out your total wingspan. Have your child count out 24 cards. Once they have a pile of 24 cards, have them split into two piles; one for you, one for me, one for you, one for me, until there are two equal piles of cards. Go through together and check to make sure that each pile is equal and when you add them back together, you get the total. Push the two piles together loosely and pull them apart to demonstrate that 12+12=24 and 24-12=12.
*If you are doing the 3D build, try using a cereal box and cut out 12 inch wings from the front of the box and 12 inch wings from the back. Remember larger birds will need larger wings.
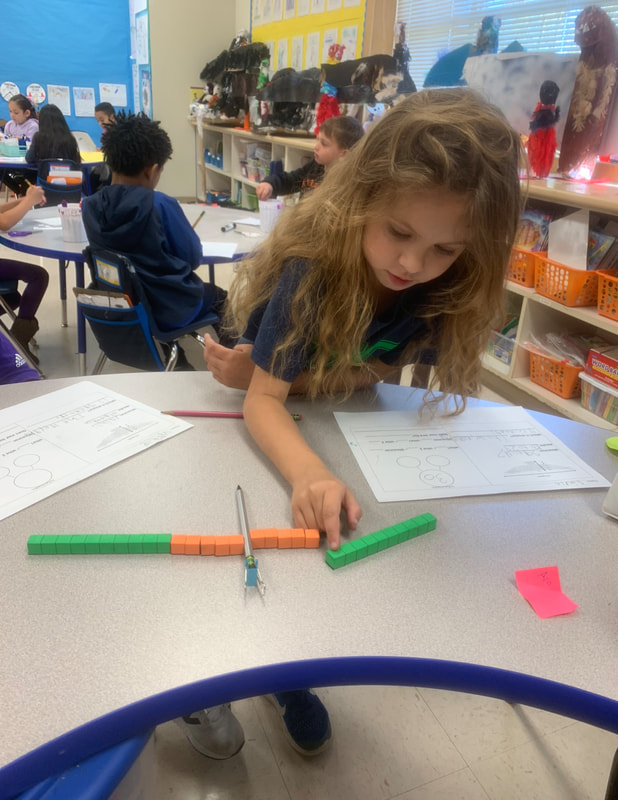
The pencil in the middle represents the bird's back bone as a student splits her total wingspan into two equal parts.
|
These were some jumbo wings!
|
Day 4
Use the facts and organizers you have been working on to write a rough draft about your bird. When you are done, have it proofread for spelling, capitals, and punctuation.
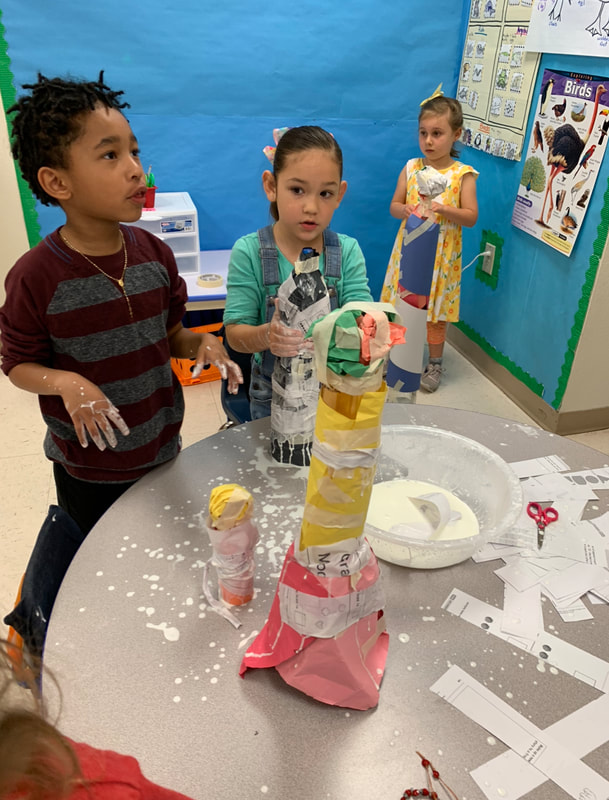
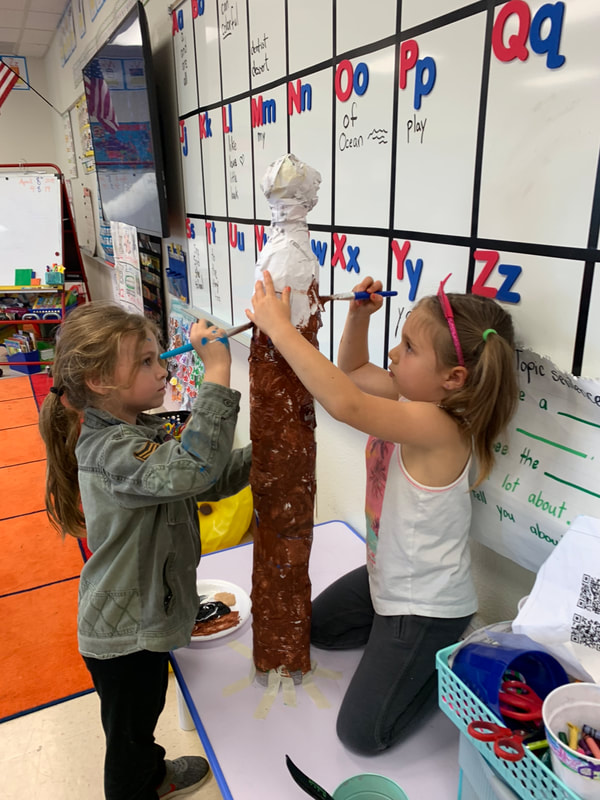
*3D Model: Paper mache day! Wrap your bird in layers of paper to give it strength and even out the shape. I like to think of this layer as muscles! Set aside to dry. Check out some recipes for paper mache here. You might want to do this step outside!
https://www.ultimatepapermache.com/paper-mache-recipes
|
|
Day 5
Rewrite using your profred corrections and put your book together! Practice reading and presenting your work!
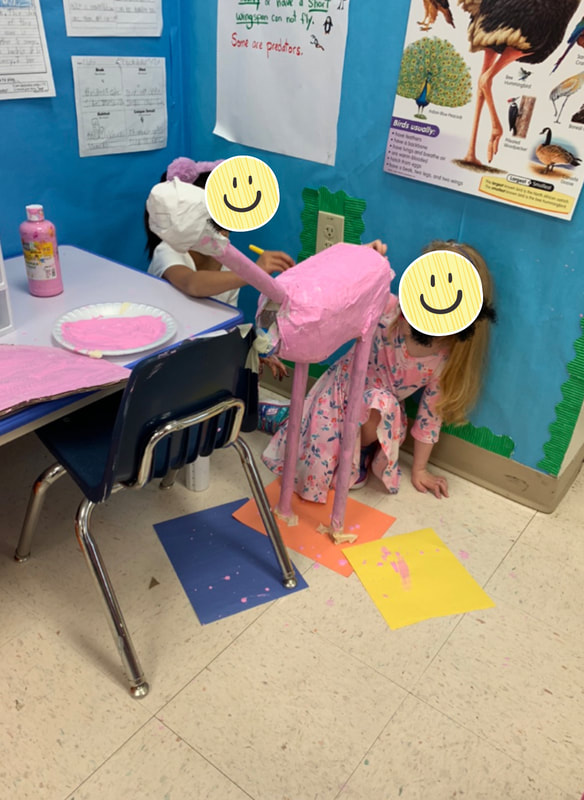
If you are doing a 3D model, decorate your bird with paint. Whatever you choose to make, don’t forget to take pictures!!!
Rewrite using your profred corrections and put your book together! Practice reading and presenting your work!
If you are doing a 3D model, decorate your bird with paint. Whatever you choose to make, don’t forget to take pictures!!!
|
|
